
Notebook Lifecycle Configurations
A lifecycle configuration provides shell scripts that run only when you create the notebook instance or whenever you start one. These scripts can be used to install packages or sample notebooks on your notebook instance, to configure networking and security for it, or to customize it.
Users can create, update and share these scripts with other users. Once created, these scripts can be attached to the notebook instances. Users can check the notebooks using this configuration under the Resources tab available on the details page of the lifecycle configuration.
There will be also be some default system created lifecycle configurations which will be available to all the users. Details regarding the use case for these scripts can be found in the description on the details page of the respective lifecycle configuration.
- Scripts cannot run for longer than 5 minutes. If a script runs for longer than 5 minutes, it fails and the notebook instance is not created or started
- Based on the requirements, the necessary permissions(list/create/update/view/delete) must be added to the Amorphic role linked to the users.
Create Notebook Lifecycle Configuration
To create a Lifecycle Configuration:
- Click on
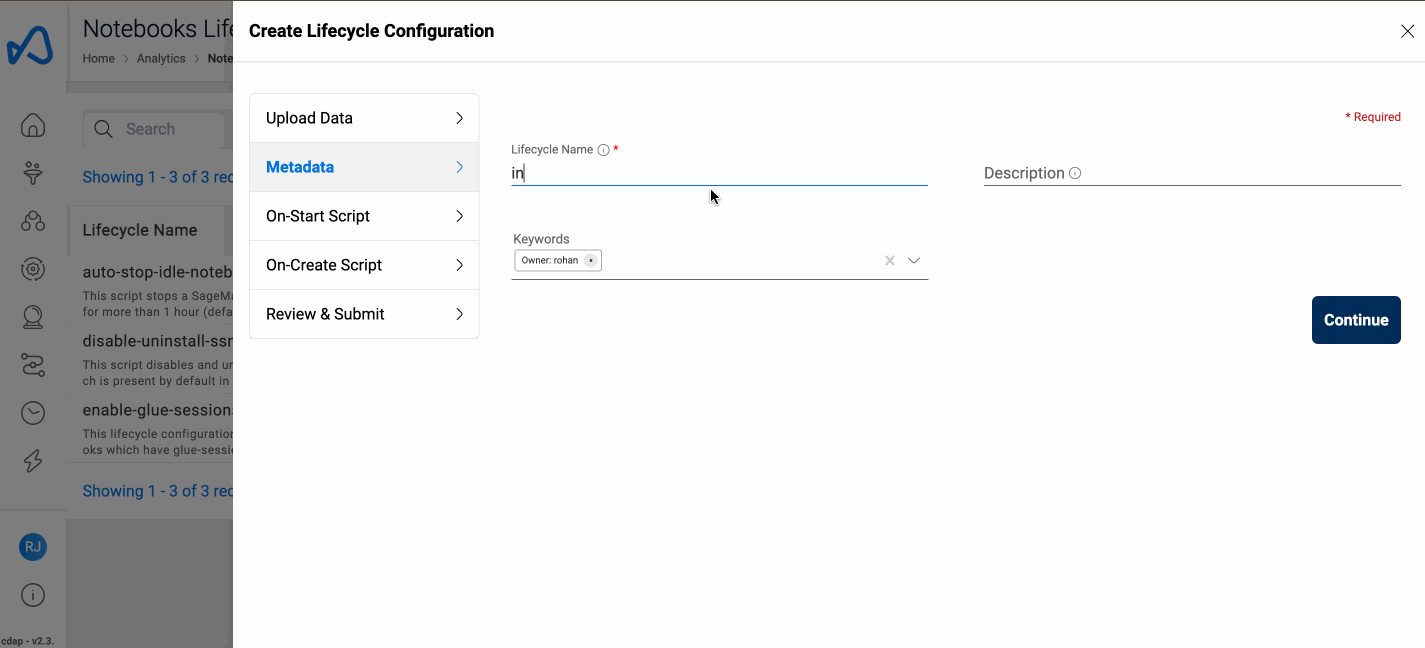
+ New Lifecycle Configuration. - Fill in the details shown in the table:
| Attribute | Description |
|---|---|
| Lifecycle Name | Give your Lifecycle Configuration a name. This name needs to be unique across the application. The name can be up to 63 characters |
| Description | Describe the purpose of the Lifecycle Configuration and other important details. |
| Keywords | Keywords are indexed and searchable in the app to help you find things quickly. |
| On-Start Script | Optionally specify the script that will be run each time the notebook instance spins up. The script has a limit of 16384. |
| On-Create Script | Optionally specify the script that will be run the first time a notebook instance is created. The script has a limit of 16384 |
Here are some sample Lifecycle Configuration scripts which address the common use cases. Please note that many of the sample scripts require additional configuration such as updating IAM permissions linked to the notebook instance. So manual role update might be necessary for these scripts to work
Edit Notebook Lifecycle Configuration
To update a Lifecycle Configuration, click on the edit icon from the details or the listing page. Both the on-start and on-create scripts can be updated. Updating a Lifecycle Configuration would affect the notebook instances that are been linked to it.
Attach a Lifecycle Configuration to a notebook instance
While creating a notebook instance, users can optionally attach a lifecycle configuration that they have access to.
When creating a sessions enabled notebook instance, the system generated lifecycle configuration
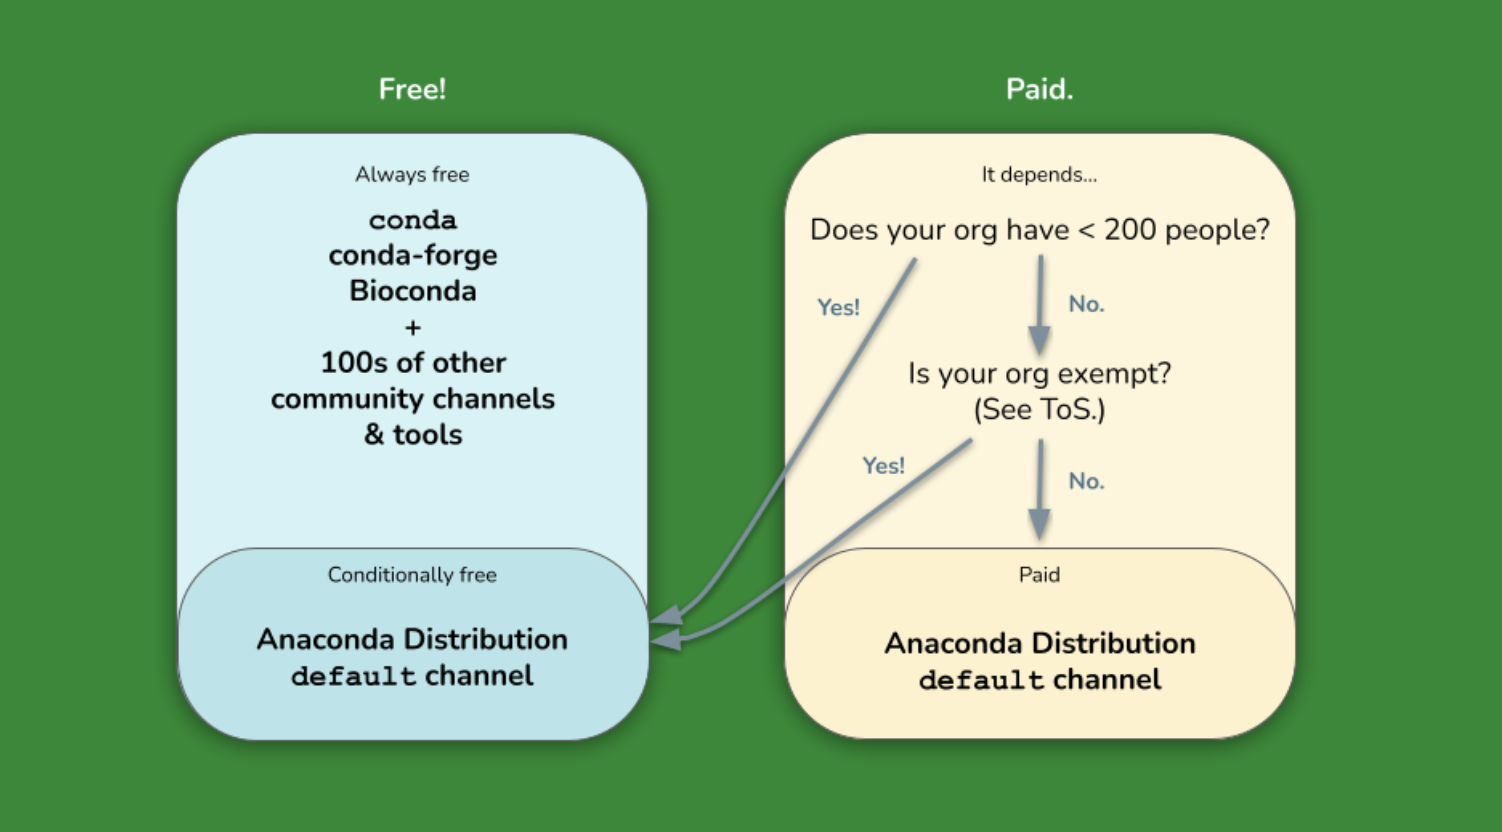
enable-glue-sessionwill be attached by default. However, if a user wants to attach a custom lifecycle configuration which has sessions enabled, then the base scripts which are present in theenable-glue-sessionmust be added along with the additional steps otherwise the sessions won't be created.Currently in Amorphic notebooks, we use Lifecycle Configurations (LCCs) for installing libraries to perform various actions, such as enabling Glue sessions in a notebook. There is no current impact or violation of Anaconda's Terms of Service with regards to their commerical usage on using these Amorphic-provided LCCs within the platform. However, we advise users to exercise discretion when utilizing Anaconda channels in custom LCCs. It is imperative that you evaluate your specific needs concerning the Anaconda license. A critical requirement is that any company with over 200 employees must procure a commercial license to continue using the Anaconda repository. To ensure compliance and prevent any interruptions in your workflows, we strongly recommend reviewing the licensing requirements and making the necessary arrangements immediately. For more information, refer to the following chart and links : 1, 2
For customers who are upgrading from versions 2.3 and lower, the lifecycle configuration will be detached from existing session-enabled notebooks. Once the backfilling is successful, users will be able to see the metadata for lifecycle configuration linked to each session-enabled notebook. The lifecycle configuration name will be of the form -
<notebook_name>-lifecycle-config-*****
Delete Notebook Lifecycle Configuration
To delete a Lifecycle configuration, click on the delete icon from the details page or the listing page. If there are any dependent notebooks which are using this configuration, the lifecycle configuration cannot be deleted.