
Models
Models page allows users to view all the Amazon Bedrock and OpenAI base models, along with options to enable/disable a model and sync the latest model metadata from AWS/OpenAI. Users can also create custom models from here. They have to provide the data that is to be used and the parameters for the customization job.
Listing models
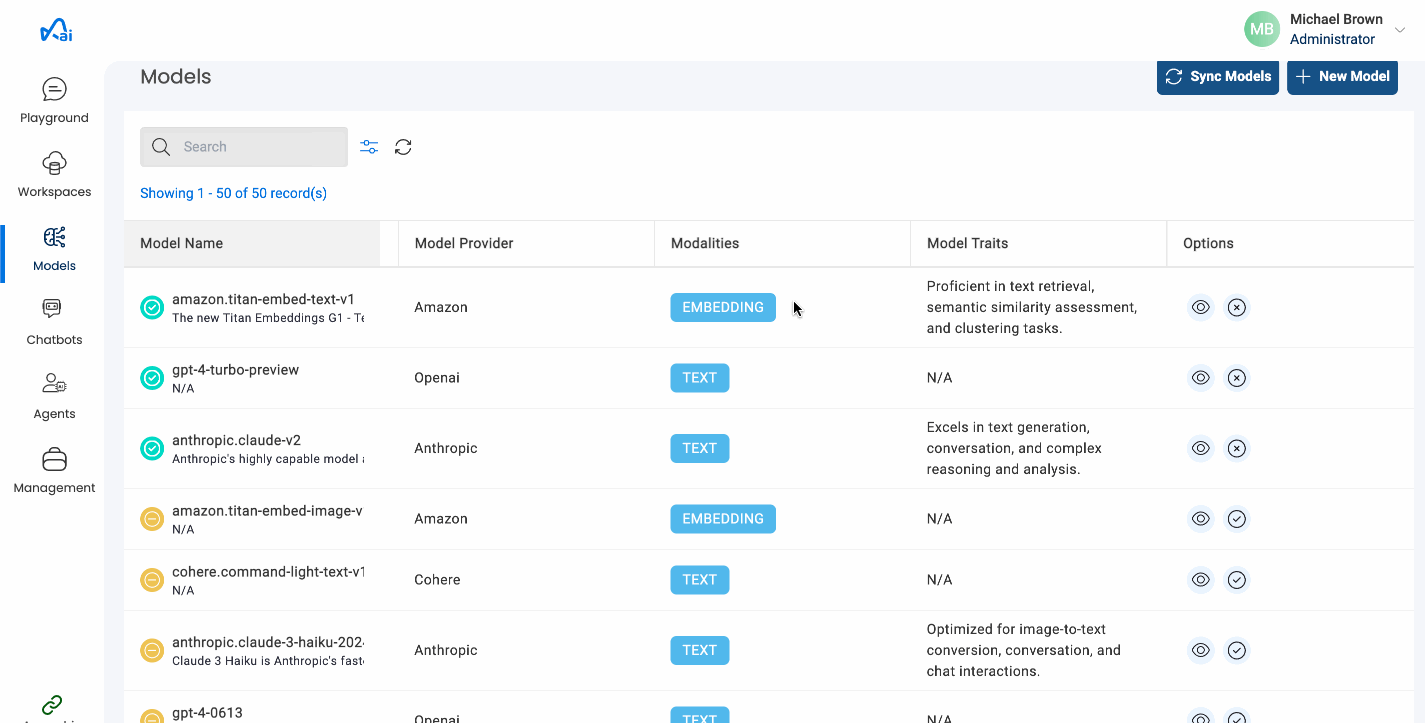
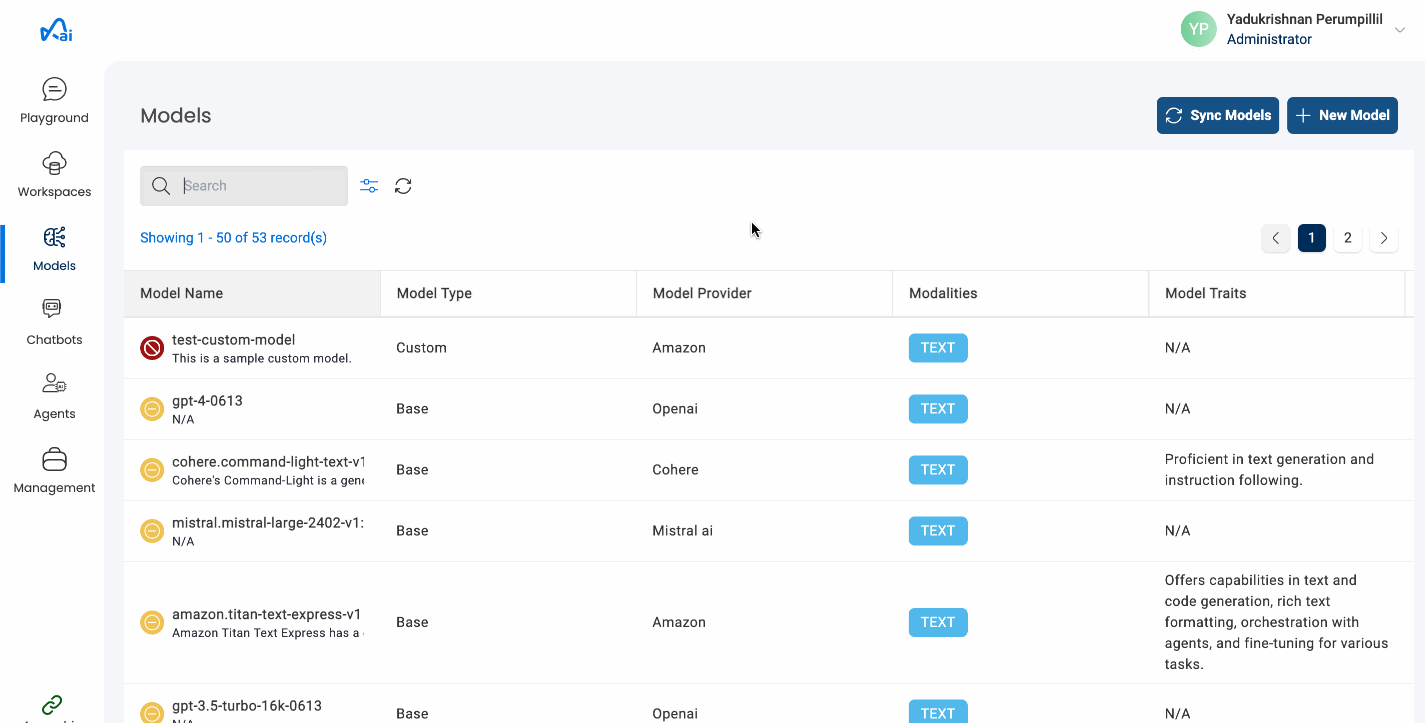
Upon navigating to Models on the side nav panel, users will be taken to a listing page where they can find details of all the models that are provided by Amazon Bedrock and OpenAI.
By default, the listing page will contain the following details about a model :
| Properties | Details |
|---|---|
| Model Name | Name of the model. |
| Model Type | Whether the model is a base model or a custom model. |
| Model Provider | The company/firm issuing the model. |
| Model Traits | Quick description of the use cases the model is best suited for. |
| Options | Options to view model details, enable/disable a model and to delete custom models. |
You may notice an icon located to the extreme left of a model, next to Model Name. This status indicates what's the current status of the model and what is the next user action pending for the model. You'll also see a text bubble pop-up upon hovering over this icon.
The following are the possible model statuses :
| Model Status | Meaning |
|---|---|
| GREEN | The model is successfully enabled and ready for use. No user action is pending. |
| YELLOW | The model is ready for use. The only user action pending is to enable it inorder to consume the model across the application. |
| RED | This status is specific to custom models. The immediate user action will be to provision throughput once creation is completed successfully. Upon successfully provisioning throughput, the model status will turn into yellow after which it can be enabled and ready to use. |
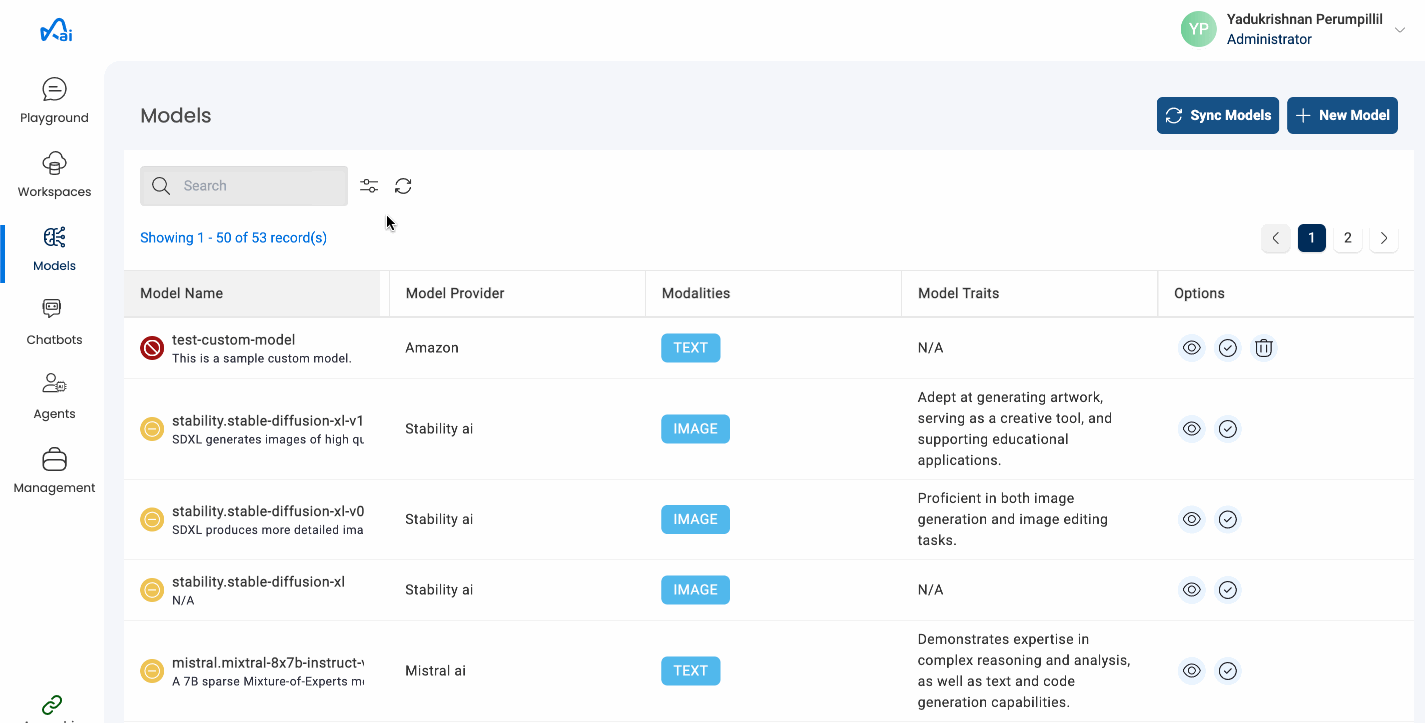
Enabling and disabling models
Admins will now be able to enable or disable a model from this page, thereby making it ready for consumption across the application.
- Slide to the right most part of a model and select on the Enable/Disable button.
- Once selected, model status will be updated to the relevant status.
- Only models showing in yellow model status can be enabled, and only those shown in green model status can be disabled.
Below image shows how to enable/disable a model
It is important to note that only the models with the green model status icon will be showing up in the playground chat models list, or be allowed to use for creation of workspaces/agents/custom models/external chatbots.
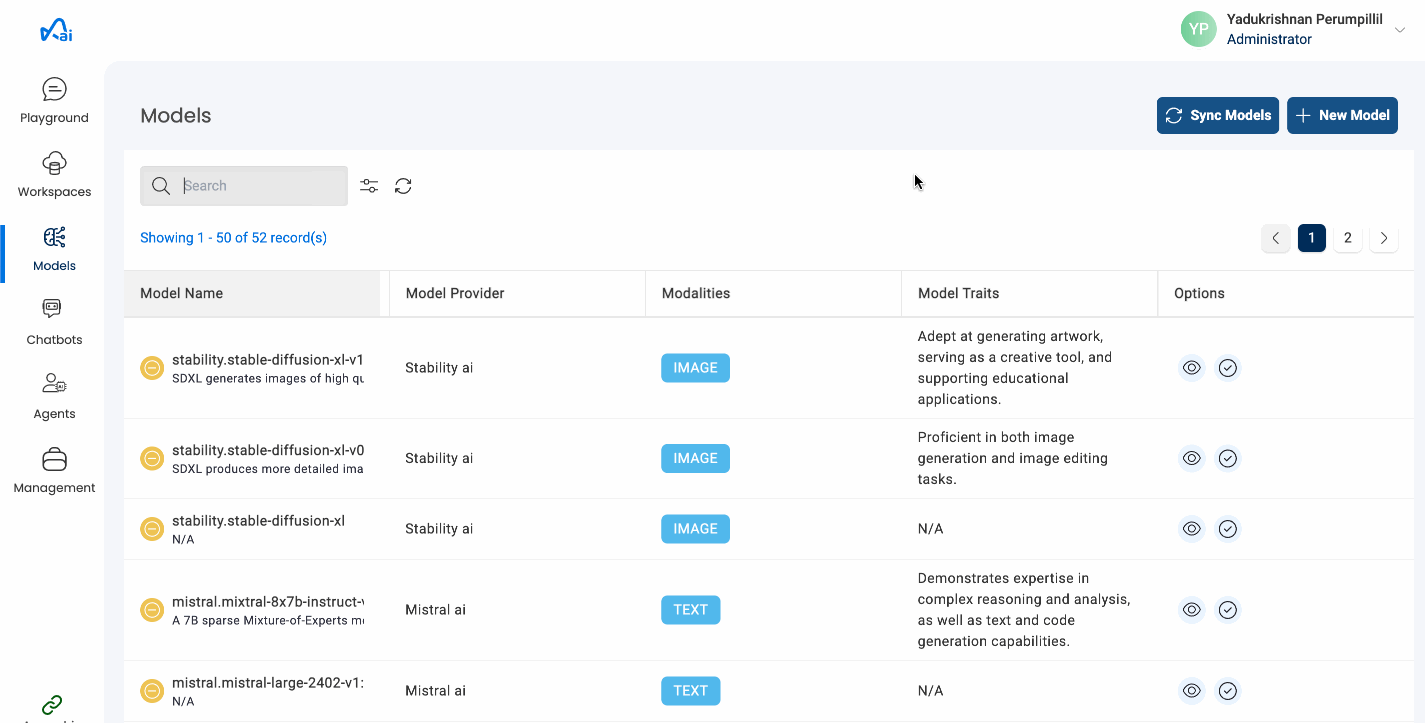
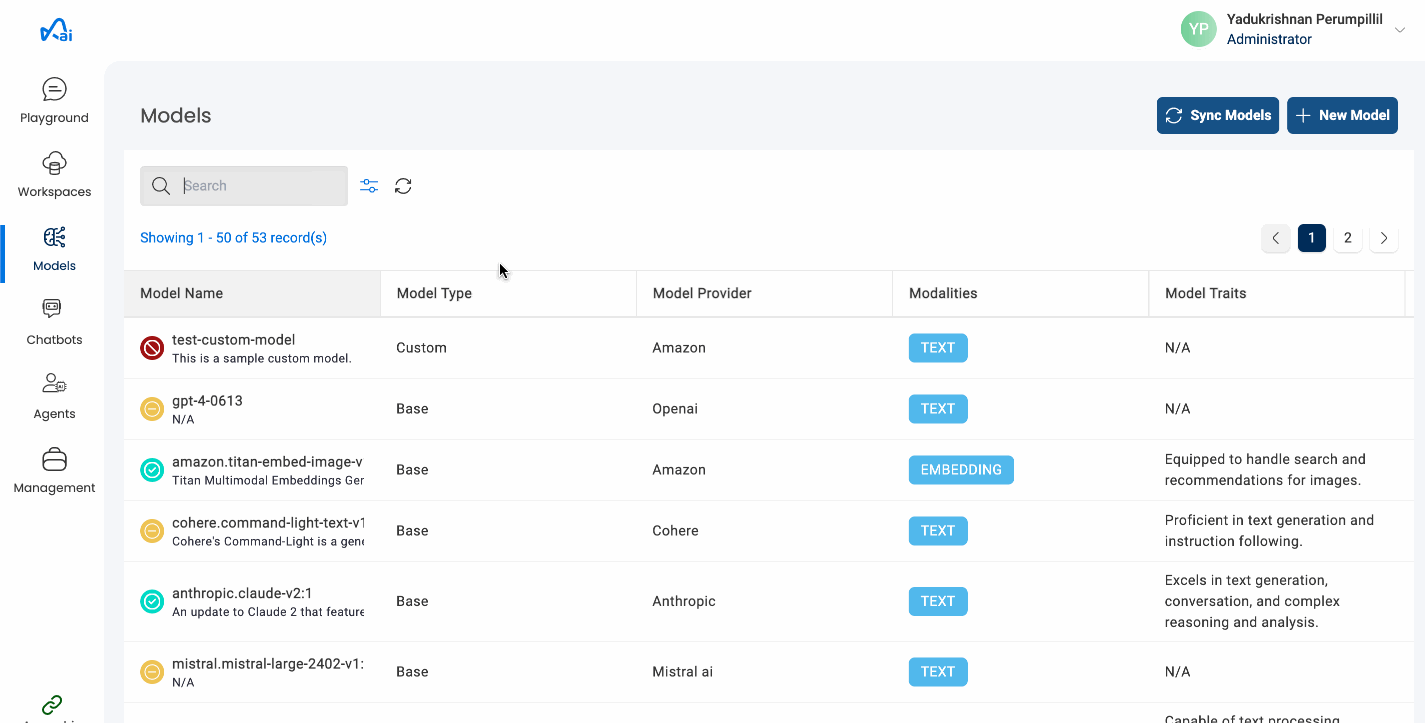
Syncing models
Users can now also sync the latest metadata of the models from AWS Bedrock or OpenAI, and update the list of models provided by different providers.
For this, select the Sync Models at the top right, next to the New Model button.
Below image shows how to sync models metadata
Creating custom models
Custom models let users customize the Amazon Bedrock base models according to their use case. Users can create custom models by running a customization job on top of the base models. They have to provide the data that is to be used and the parameters for the customization job.
- Click on the New Model button on the top right of the models page.
- Fill in the required fields (details listed below) and click on
Create Custom Modelbutton.
| Properties | Details |
|---|---|
| Model Name | A name for the custom model. This should be unique across the platform. |
| Description | Description of the custom model being created. |
| Customization Type | Currently we only support FINE TUNING for this field. |
| Base Model | The custom model will be trained on top of this base model. |
| Training Data | Upload the data used for training the model. |
| Validation Data | Upload the data used for validation. |
| Hyper Parameters | Additional configuration parameters that can be set to the train the model. Set as key value pairs |
Below image shows how to create a custom model
Custom model creation may take some time once triggered and the initial model status will be represented by a red icon.
Provisioned throughput
To use a custom model, users have to provision throughput for it. Only no commitment throughput can be provisioned through this API. For more information regarding provisioned throughput, refer the Amazon Bedrock Documentation here. Once throughput is successfully provisioned, the model status icon will turn into yellow. Users should then be able to enable the custom model for consumption.
- Select the Custom Model that you provision throughput for and click on
Provision Throughputtab. - Enter the Model Units and click on
Provisionand confirm.
Below image shows how to provision throughput for a custom model
Users can also delete the already provisioned throughput by clicking on the Remove Throughput button. Doing so will turn the model status back to the red icon.
You will incur hourly costing for the provisioned throughput even if you do not use it for inference.
Pricing
There are 3 costs associated with model customization:
- Price to train 1,000 tokens
- Price to store each custom model per month
- Price to infer from a custom model per model unit per hour
Please refer to the AWS documentation to get the details regarding pricing for customizing individual base models.
Deleting a custom model
- Select the Custom Model that you want to delete and go to
Configurationtab. - Click on the delete icon and click on the Delete Custom Model button to confirm the deletion.
Below image shows how to delete a custom model
Custom model deletion is only possible if the model is in Completed state. Please delete any throughput provisioned for the model before model deletion.