
Workspaces
The workspace, serving as the locus for data storage within the Amorphic AI system, enables users to create and store embeddings for designated CSV, TXT, and PDF files. Amorphic seamlessly vectorizes this data, storing it in the vector database, which functions as a Retrieval Augmented Generation (RAG) source. Once documents linked to a workspace undergo processing, users gain access to the data through the chat playground, allowing them to pose queries directly relevant to the processed documents for enhanced interactivity and insightful analysis.
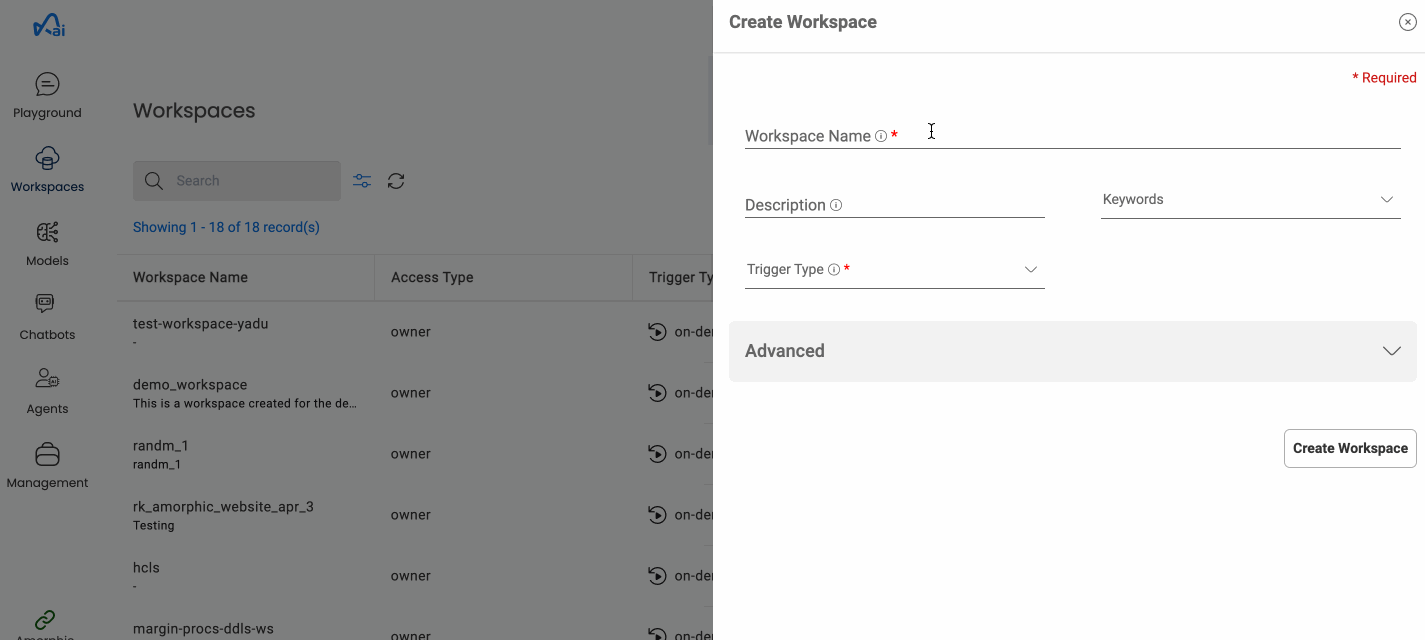
How to create a Workspace?
- Select Workspace tab from the Services in the left nav and Click on
+ New Workspace - Fill in the required fields (Details listed below) and click on
Create Workspacebutton.
Following fields are needed to create a workspace:
| Properties | Details |
|---|---|
| Workspace Name | A name for the Workspace. This should be unique across the platform. |
| Trigger Type | There are three trigger types:
|
| Schedule Expression | Time-Based trigger type require a schedule expression. i.e., Every 15 min, daily, etc. Read more |
| Description | Description of the workspace being created. |
| Keywords | Keywords indexed & searchable in app. Choose meaningful keywords to flag related workspaces & easily find them later. |
| Auto Create Source | Enabling this option allows user to auto-create the source dataset required for the Workspace or user can attach source datasets from the list of their Amorphic datasets by disabling this option. |
| Attached Datasets | User can attach a list of source datasets from Amorphic as a data source for the workspace. The datasets must have S3 or S3-Athena as the Target Location and can have FileType as either csv, txt, pdf or others. Currently only one dataset can be attached to a workspace |
| Embeddings Model | The model to use for generating embeddings. Allowed models - ['amazon.titan-embed-text-v1', 'cohere.embed-english-v3', 'cohere.embed-multilingual-v3'] |
| Max Tokens | The maximum number of tokens to be used for chunking. Value must lie between 100 and 10000, both included |
| Overlap Percentage | The percentage of overlap between chunks. Value must be between 1 and 100, both included |
Below image shows how to create a new workspace
- Enable one of the embedding models specified above for workspace creation to succeed
- The user creating the workspace must have the permission to create datasets in Amorphic
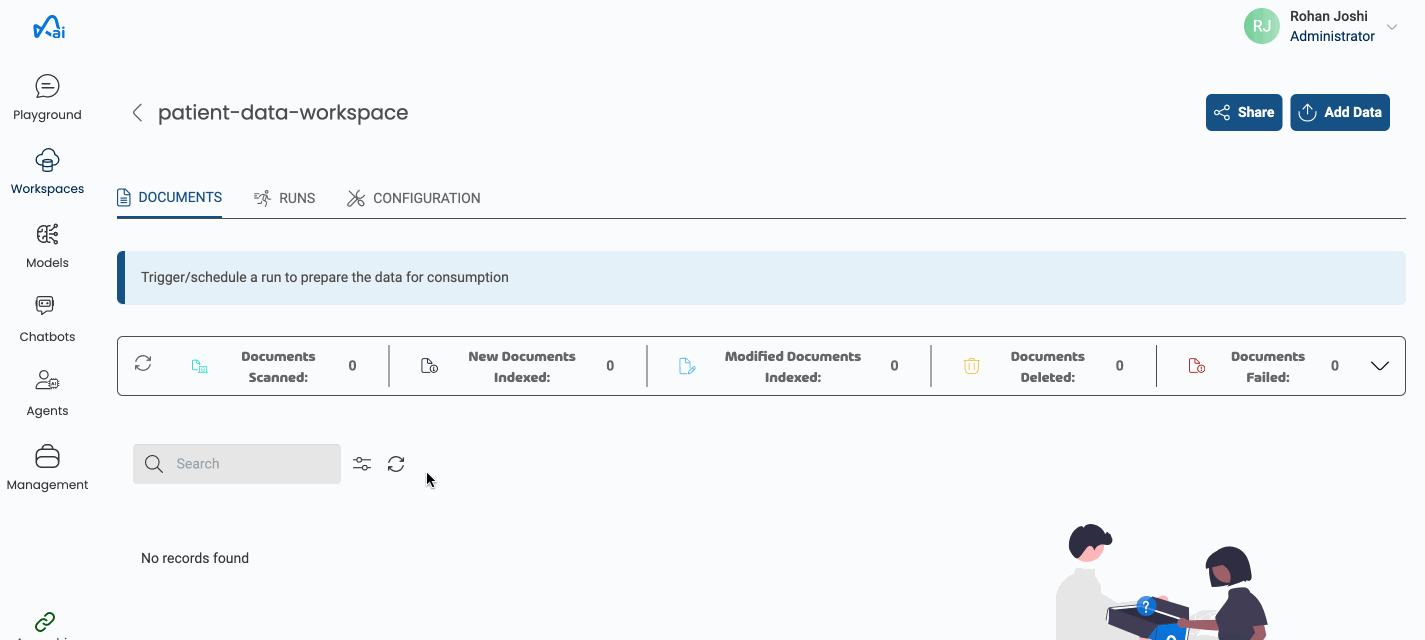
How to add documents in a workspace?
User can run embeddings process on documents after adding them to a workspace. There are four types of documents which can be added to a workspace.
Files
There are two ways to import files into a workspace.
1. From existing Amorphic datasets
User can import files from an existing Amorphic dataset to Workspace by specifying the source dataset at the time of Workspace creation.
To import files from an Amorphic source dataset, disable Auto Create Source in the Advanced options and select a Source Dataset at the time of Workspace creation.
All the files metadata in the Amorphic source dataset will be imported into the Workspace after the completion of store creation and this will be an asynchronous process.

2. By manual file upload
User can also upload files to the Workspace whenever it required. To upload files to the Workspace follow below steps:
- Select the Workspace that you want to upload files to and click on the
Add Datain the top right corner. - Select the
Upload Filestab. - Select the dataset that you want to upload the files to.
- Add the files that you want to upload and click the
Upload Filesbutton.
Supported File Types
| Format | Extension |
|---|---|
| Plain Text | .txt |
| Markdown | .md |
| HyperText Markup Language | .html |
| Microsoft Word document | .doc/.docx |
| Comma-seperated values | .csv |
| Microsoft Excel spreadsheet | .xls/.xlsx |
| Portable Document |
The maximum file size supported is 50 MB
Deleting a File
In case a user uploads a file whose data is no longer relevant to the workspace, the file can be deleted using the delete icon on the listing page. This would delete the corresponding file from the linked amorphic dataset. Once the file is deleted, the user needs to trigger the workspace run in order to delete the corresponding file embeddings from the vector db.
Please wait for a few seconds for the file deletion to complete and for the metadata to be updated
Below image shows how to add different types of documents to the Workspace
How to Run a Workspace?
There are 3 ways to run a workspace based on the Trigger-Type.
- On-Demand
- File-Based
- Time-Based
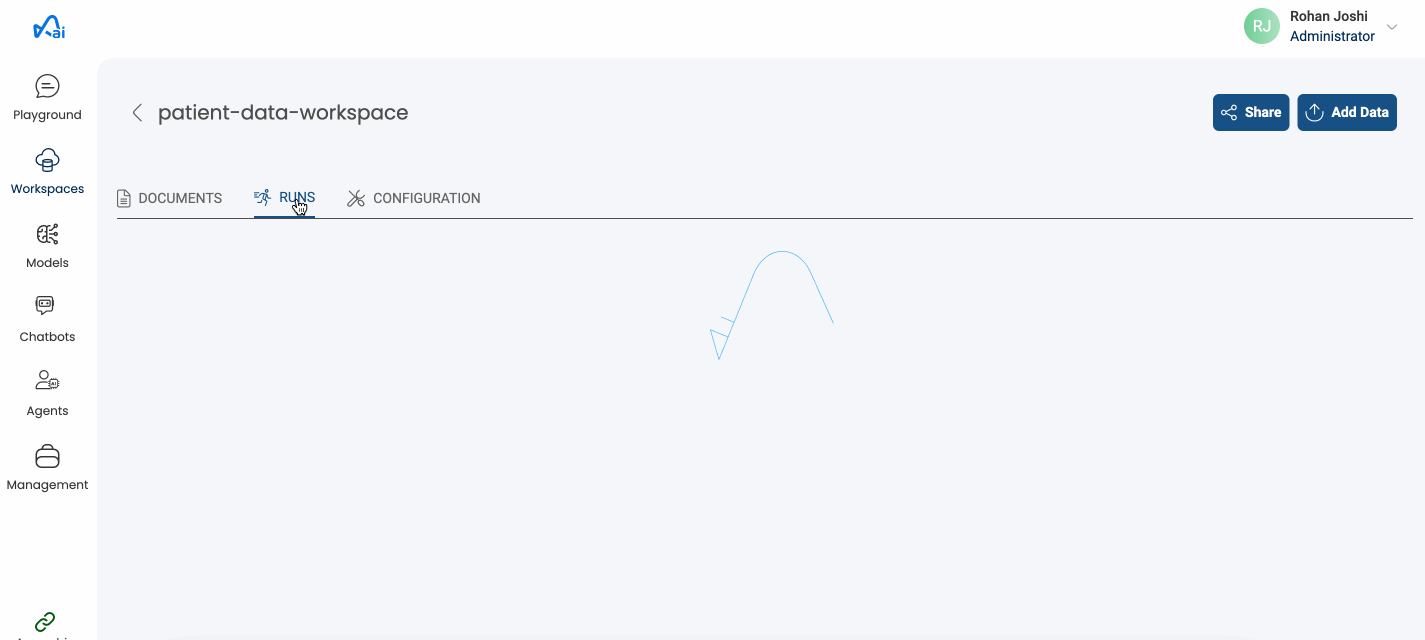
1. On-Demand
As the name suggests, users can run On-Demand Workspaces whenever they want.
Following are the step to run a workspace on-demand.
- Select the workspace you want to run and click on the
RUNStab. - Click on the
Trigger Runbutton and to start the Workspace run.
Below image shows how to run a Workspace
2. Time-Based
User have the option to run a Workspace on a schedule basis. The Workspaces with the Trigger-Type as Time-Based will run automatically based on the schedule expression specified.
3. File-Based
If the Document Trigger type is File-Based, then whenever a document is added to the Workspace, it'll trigger a new run on that workspace automatically.
A new run will be initiated for every document added to the Workspace; for instance, adding 50 documents will trigger 50 new runs.
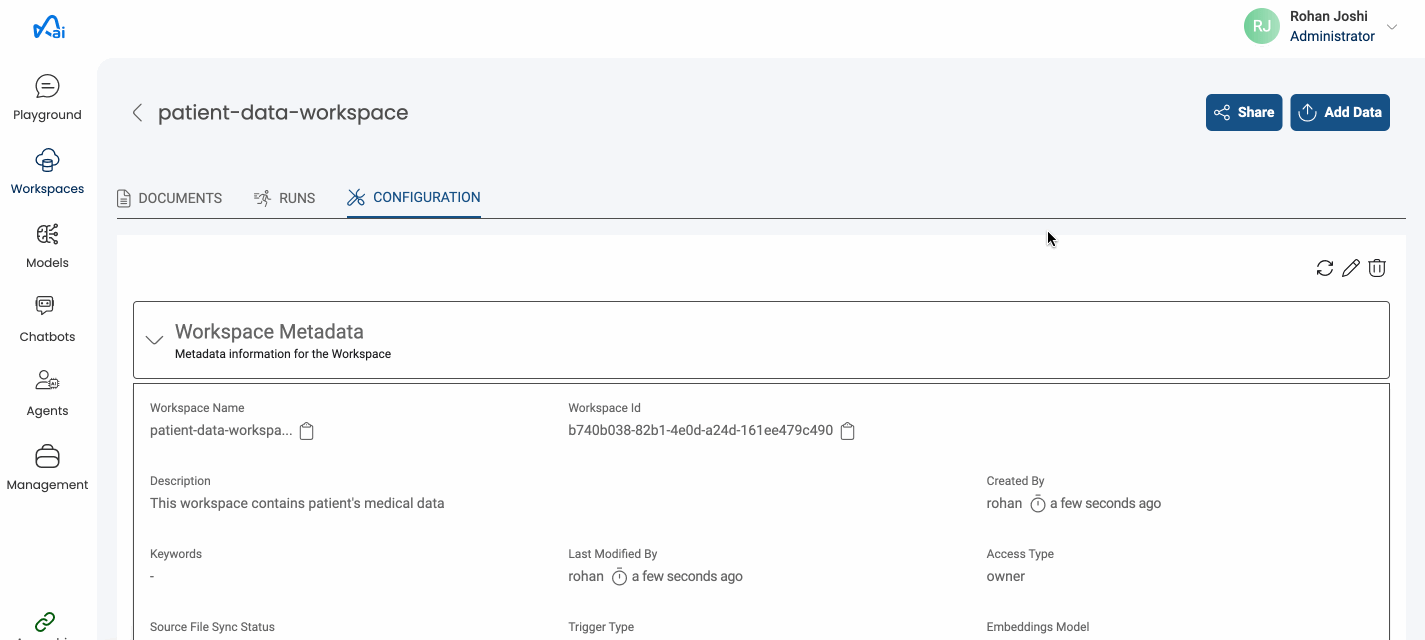
How to edit a Workspace?
User can edit details of a Workspace after the creation of that Workspace.
- Select the Workspace you want to edit and click on
CONFIGURATIONtab. - Click on the edit icon in the Metadata and update the required details then click on
Update Workspacebutton.
Below image shows how to edit a Workspace
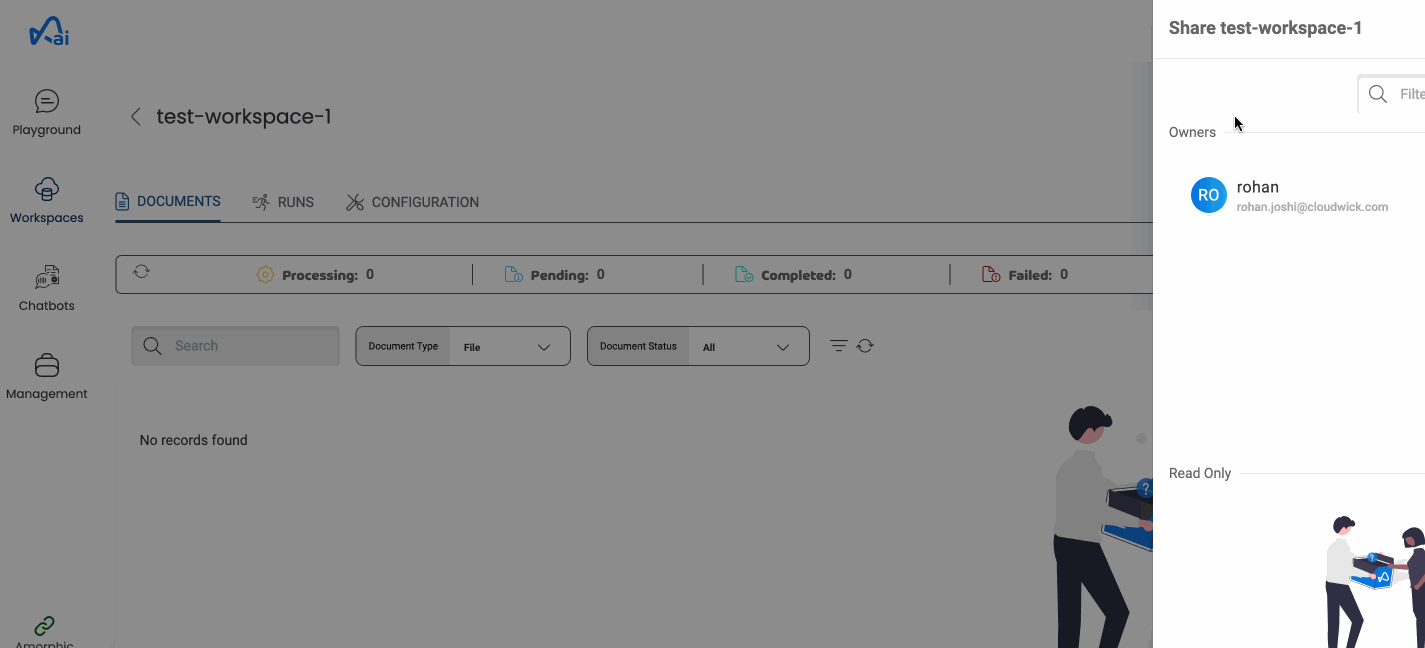
How to share a Workspace?
Owners of the Workspace can share it with other users in the Amorphic AI. There are two types of access control for Workspace, Owner Access and Read-only Access. Owners of the Workspace can do any operation on those Workspaces(run, add documents, edit etc.) whereas as the read-only users can only view the Workspace.
To share a Workspace with other users in the Amorphic AI, follow these steps:
- Select the Workspace that you want to share and click on
Sharebutton in the top right corner. - Click on the
+(Provide Access) button. - Select the username of the user to whom you want to share the Workspace with and also select the access type(Owner or Read-only) and click submit button.
Below image shows how to share a Workspace with other users.
How to delete a Workspace?
Users can delete a Workspace when there is no runs currently happening on that Workspace. Follow these steps to delete a Workspace:
- Select the Workspace that you want to delete and go to
CONFIGURATIONtab. - Click on the delete icon in the Metadata section and click on the Delete Workspace button to confirm the deletion.
Below image shows how to delete a Workspace
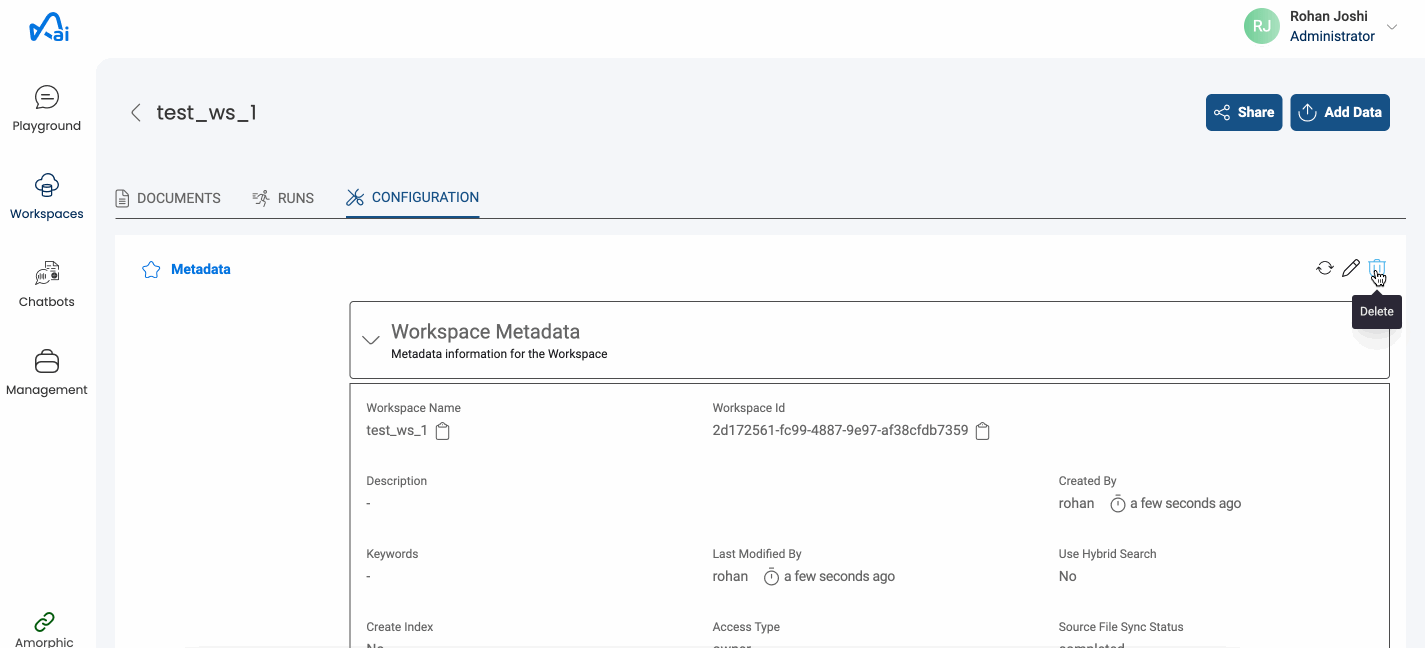
Deleting the Workspace will only delete all the Workspace related metadata from AI app. The corresponding datasets that are created as part of Workspace will still exist in Amorphic.